Upgrading Windows 10 or 11 Home to Pro Edition Remotely
December 14, 2023
[avatar user="Jamie Poindexter" size="thumbnail" align="left" link="file" /] by Jamie Poindexter | Dec 20, 2021 | Jamie's Tech Corner, Our blogIf you have purchased a Windows 10 or 11 Pro key from a 3rd party vendor and are trying to upgrade it remotely you may be running into the below error when entering the new key:
Normally in this situation you will need to take the device offline and enter a Windows 10/11 RTM Key that triggers the upgrade to Pro. Once the upgrade is triggered and the PC will restart to apply the update. If you are working on a PC remotely though this becomes a issue as the remote software most companies use requires internet access. He is a step by step on working around this issue to get the upgrade installed.1.You need a PC on the same network to remote into the device from.In most cases the location would have more than 1 PC or even a server that you have remote access to.2.Install UltraVNC or another VNC program on the PC that is to be upgraded.Available here - https://uvnc.com/downloads/ultravnc.htmlOnce you install it on the PC you will also want to install the viewer on the server or 2nd PC that you will be remoting in from once internet access is disconnected.Once you have the server application installed on the first PC you will need to open the admin properties from the tray icon that appears.
Next you will want to set the VNC Password to whatever you want. It will be needed later on.3. Test connecting from VNCBefore moving to the next step try connecting from the 2nd PC/Server to confirm its working. Sometimes you may need to disable the Windows firewall. Open the UltraVNC Viewer and enter the name or IP of the computer. Then enter the password you made up earlier.
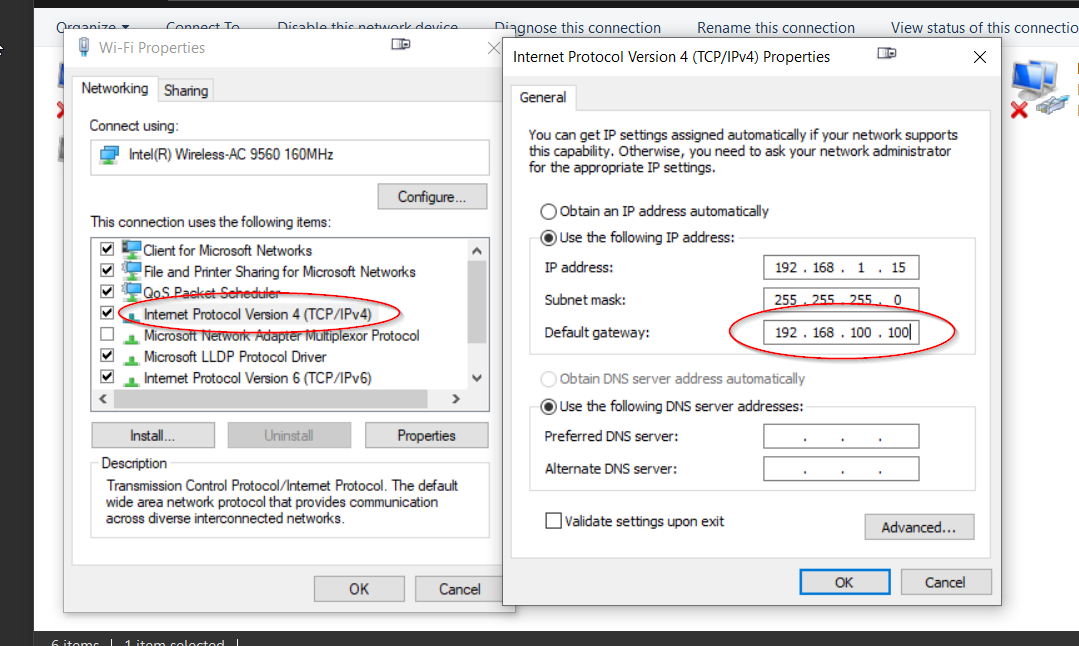
Assuming everything is correct you be taken into the 1st PC and have control of the mouse and keyboard.4. Break the internet connectionThe way we will break the internet but remain connected via the UltraVNC app is to enter a invalid gateway for the NIC. Open the network connections page and edit the IPV4 configuration. Make sure the IP and subnet are correct for your network configuration and enter a random gateway address. Once you apply these settings the UltraVNC connection should initially disconnect but then reconnect. Internet should also stop working completely.
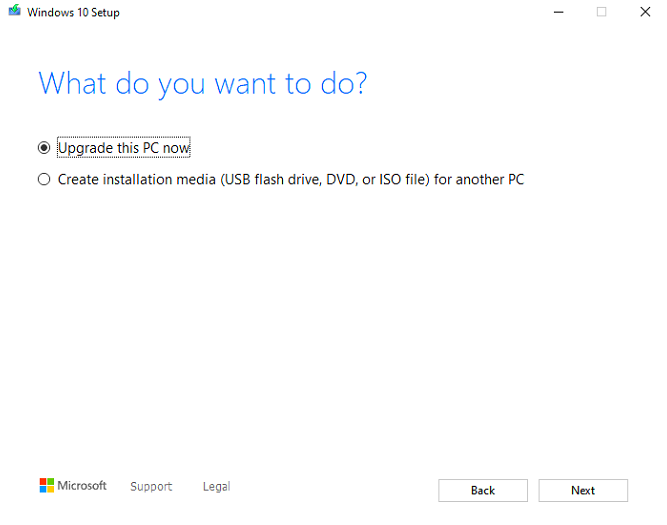
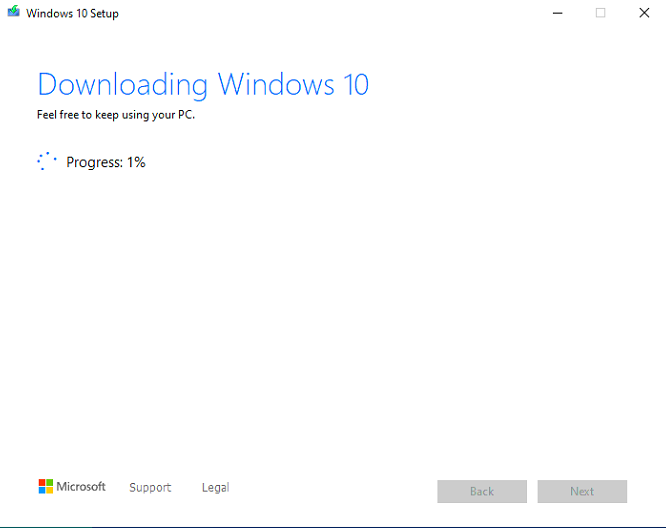
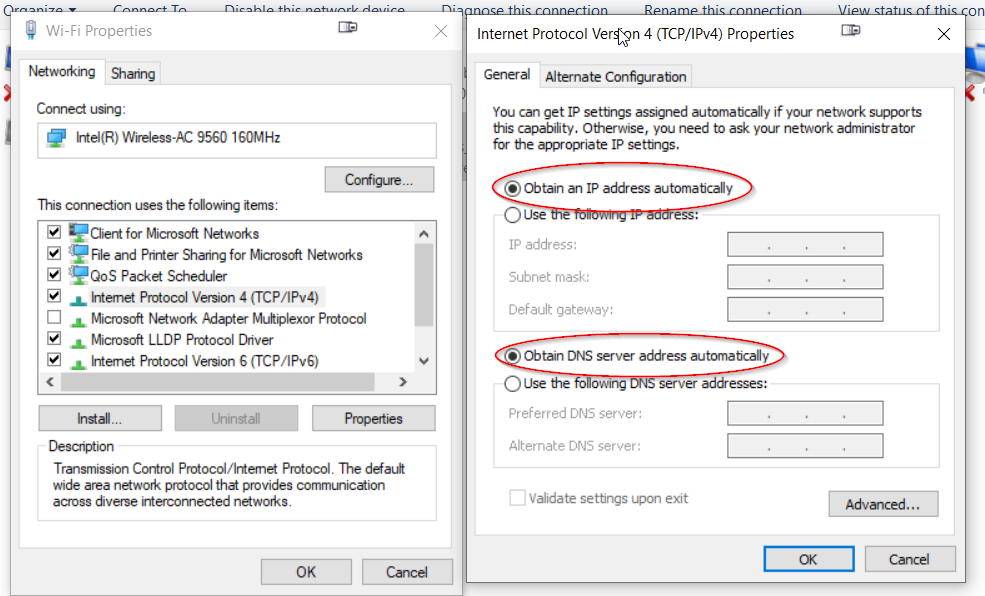
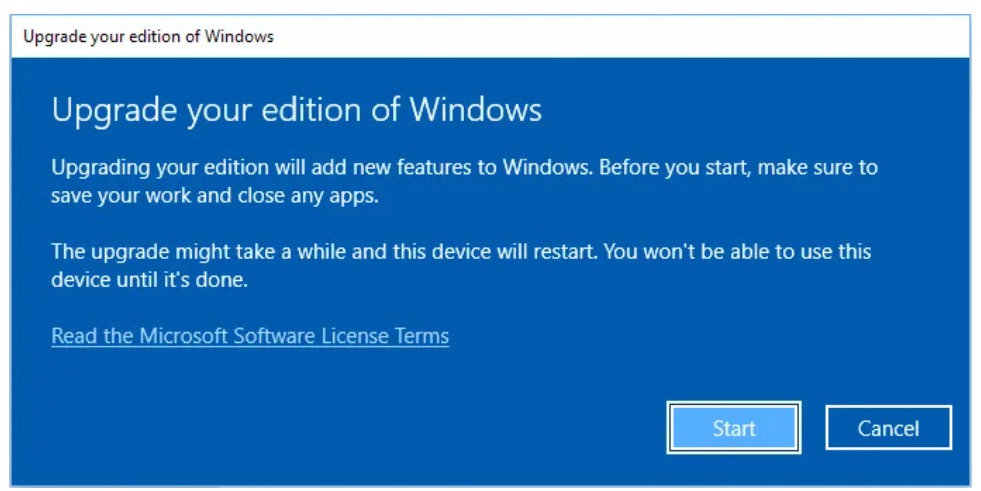
5. Enter RTM upgrade keyNow you can go back to the activation screen and enter the RTM key - VK7JG-NPHTM-C97JM-9MPGT-3V66TThis should kick off the upgrade which will take a couple minutes. Once you see the progress begin to climb you can go ahead and switch the IP address back to dynamic or whatever it was before so internet is restored. Again, UltraVNC will drop but then reconnect. If you were still remoted in with your normal software it should also reconnect along with the internet.
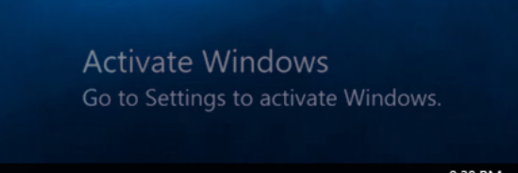
The PC will reboot once done and then reboot once more automatically.Now you will likely receive a message that Windows needs to be activated. You can click on the message and then enter the key you purchased to fully activate it.
And that’s it! These steps work for Windows 11 as well.